Getting Started with ChronosCodex
Your first hour: workspace, team, phone line, and your first client record.
1. Create your workspace
Sign up at app.chronoscodex.com/signup. You'll verify your business address and phone, sign the terms, and confirm your email before your first login. Your workspace starts with your agency's main agent already set up and the standard carrier directory preloaded.
2. Take the tour that matters: the household
Everything in ChronosCodex hangs off the household — members, policies, documents, texts, emails, calls, notes, and tasks. Open Clients and create a test household to see the timeline. (Full guide: Creating households.)
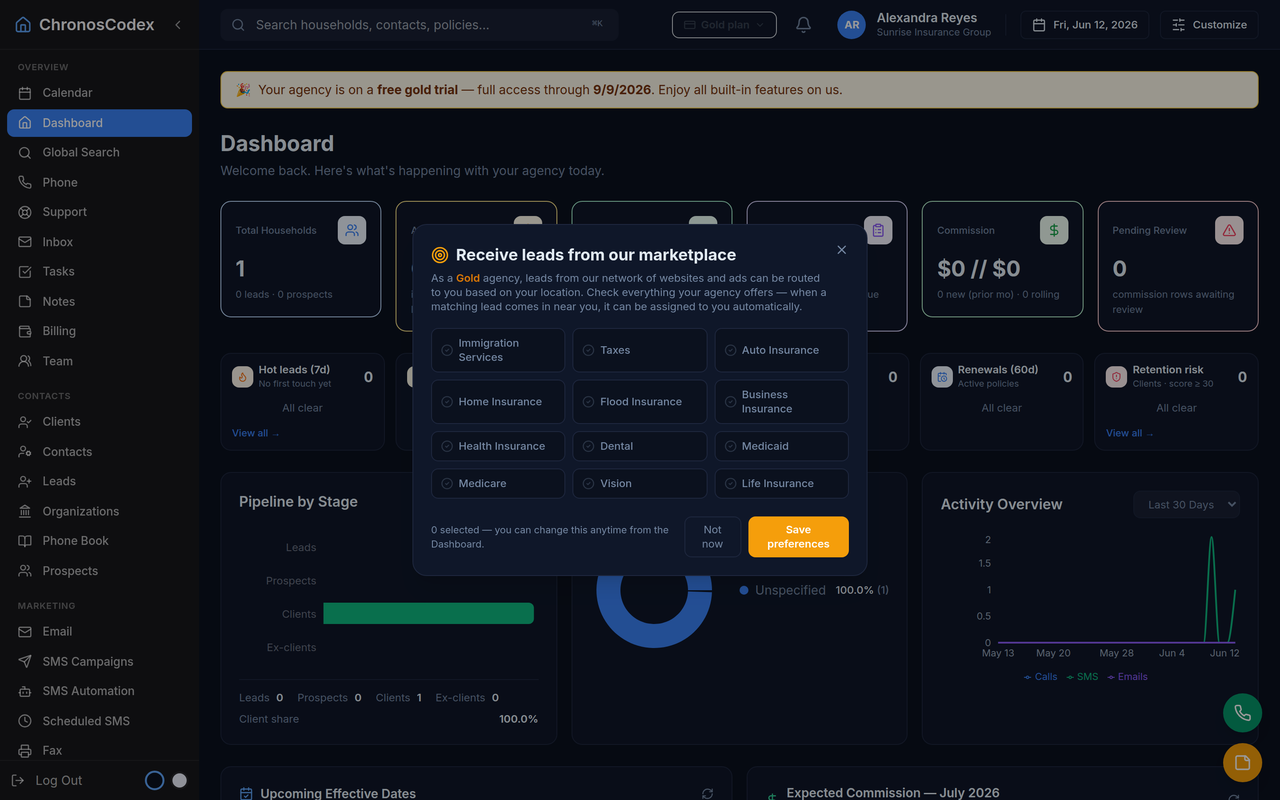
3. Set up your phone line
Open Phone → My Numbers. Your included number appears there; the Web Phone works in your browser with no install. Agency and Brokerage plans can also enable the Backup Line (it uses one number slot). Minutes used and your plan's allowance are shown right on the tab.
4. Add your team
Team lets owners invite members by email. Each teammate gets their own login, two-factor security, and a web-phone line you can see on the Phone tab. Roles control who can manage settings.
5. Bring in your book
Use the import guide to load your existing clients from a HealthSherpa export or CSV. Importing early makes every other feature — campaigns, renewals, automation — immediately useful.
Where to go next
- Sending SMS — conversations and campaigns from your own number.
- Using automation — the follow-ups that run themselves.
- Academy: Beginner track — a structured path through all of it.
Ready to put this to work? Launch ChronosCodex and follow along in your own workspace — or learn about the platform if you don't have one yet.
Pricing, limits, and usage
Current plans, records, storage, and included communications.
Voice, SMS, fax, and outbound email definitions.
Storage ladder and full-storage behavior.
Published add-ons and extra usage pricing.